Navigating the PowerPoint World
Understanding the components of the PowerPoint interface is vital for creating polished presentations that capture your audience's attention. In this section, we'll break down the key elements, including the Ribbon, Slide Sorter, and common tools you'll use while working on your presentation.
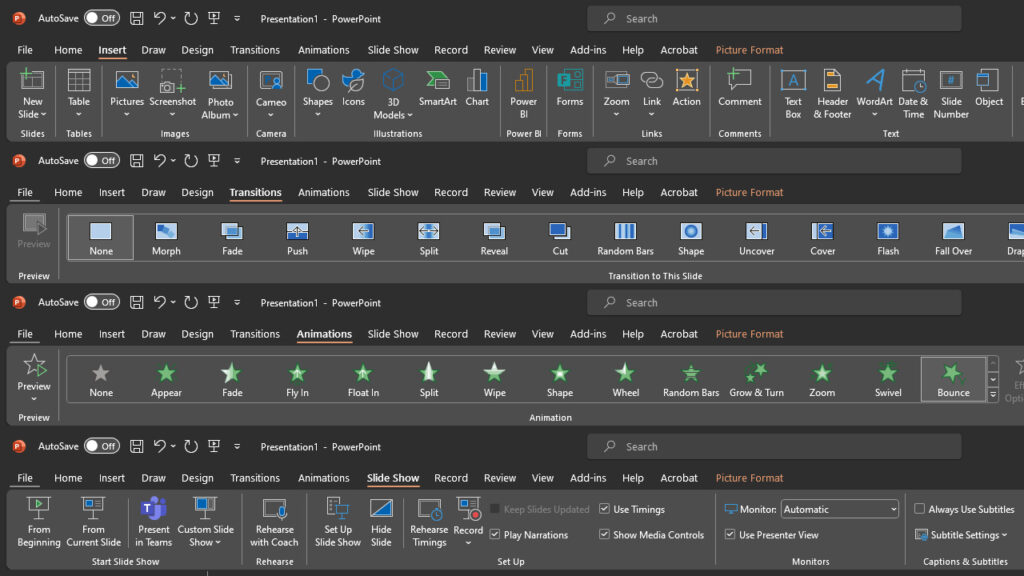
The Ribbon: Your Command Center
The Ribbon is the nerve center of PowerPoint, housing a wealth of tools and features. It's organized into tabs, each grouping related commands. Here are some essential tabs you'll frequently use:
- File Tab: Located on the left, it opens a backstage view for functions like creating, saving, and printing presentations.
- Home Tab: Offers tools for text formatting, slide editing, copying and pasting, and more. It's your primary working space.
- Insert Tab: For adding various elements to your slides, such as images, shapes, charts, text boxes, and multimedia.
- Design Tab: This is where you choose design themes, backgrounds, and slide layouts to give your presentation a cohesive look.
- Transitions Tab: Customize slide transitions to add dynamic movement to your presentation.
- Animations Tab: Control the entrance and exit animations for objects on your slides, making your content more engaging.
- Slide Show Tab: Set up and run your presentation, configure slide timings, and access tools for presenting to your audience.
- View Tab: Adjust how you view and work with slides, such as normal view, slide sorter, and notes page view.
Slide Sorter: Organize Your Presentation
The Slide Sorter view is a valuable tool for managing the order and content of your slides. To access it, click on the Slide Sorter button at the bottom right corner of your screen or go to the "View" tab and select "Slide Sorter". In this view, you can:
- Easily rearrange slides by dragging and dropping them to new positions.
- See a visual overview of your entire presentation, making it simpler to organize and structure your content.
- Apply transitions and animations to individual slides, or copy and paste these effects throughout your presentation.
Common Tools You'll Use
While working on your presentation, you'll regularly use several common tools:
- Text Box: Add text to your slides by clicking the "Text Box" tool and then clicking on the slide where you want to place the text. You can then start typing or paste text.
- Shapes: Use the "Shapes" tool to insert lines, arrows, rectangles, circles, and more to enhance your slides. These can also be customized with colors and effects.
- Images: Insert images by clicking on the "Pictures" icon. You can then select an image from your computer or online sources, such as Bing or OneDrive.
- Undo and Redo: Don't be afraid to experiment. The undo (Ctrl + Z) and redo (Ctrl + Y) buttons in the Quick Access Toolbar let you reverse and repeat actions.
- Slide Transition: Access slide transitions in the "Transitions" tab to add visual effects between slides. Choose from various options to create a dynamic flow.
By getting acquainted with the Ribbon, mastering Slide Sorter view, and understanding these common tools, you'll be well on your way to creating captivating presentations that convey your message effectively. Remember that practice makes perfect, so don't hesitate to explore and experiment with these features to unlock your creativity.